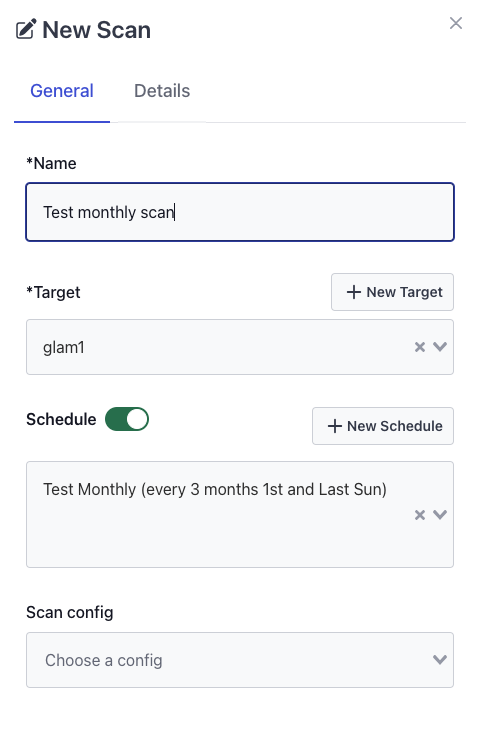
Assigning a Schedule to a Scan
Once you've created a schedule, you can easily assign it to a scan to automate its timing.
Steps to Assign a Schedule
- Navigate to Scans: Go to the Scans section in the portal.
- Open the Scan Form: If you’re creating a new scan, open the scan creation form. For existing scans, open the scan edit form.
- Select a Schedule: In the form, locate the Schedule dropdown menu and select the schedule you want to assign.
- Save the Scan: Save your changes to finalize the schedule assignment.
After saving, the Next Scan date will appear in the scans table, showing you the exact time the scan is scheduled to run according to the chosen schedule.
note
Once the Next Scan date is set, please note that scans may take a few seconds to begin. The exact start time depends on the system’s queue and current workload. High system activity may slightly delay the start time as the scan waits for available resources.